LinkedIn is a leading social network for brands looking to gain authority, build their network and connect with potential customers. With 82% of B2B marketers achieving their greatest success on LinkedIn, it’s clear that LinkedIn is a preferred channel for B2B marketing.
With so many brands competing for users’ attention, managing and growing a LinkedIn account takes enormous time, dedication and effort. To stand out, you need to post consistently and at the right times. That’s where social media scheduling tools come in.
In this guide, we’ll show you how to schedule posts on LinkedIn two ways. You’ll also find helpful scheduling tips for maximizing the reach and engagement of your posts.
Can you schedule posts on LinkedIn?
Yes, you can schedule posts on LinkedIn in two ways. The first is through LinkedIn’s native scheduling tool, which is available to all users and lets you schedule posts directly within the platform while you’re creating drafts.
Alternatively, you can use a social media management tool like Sprout Social to schedule your posts. This way, you can also benefit from Sprout’s other capabilities, like automation, analytics and AI writing assistance, to amplify your LinkedIn marketing strategy.
How to schedule LinkedIn posts natively
LinkedIn’s native scheduling tool is a convenient, built-in feature that lets you plan and schedule your posts ahead of time without leaving the platform or relying on third-party LinkedIn tools.
Follow these steps whether you’re scheduling on your own LinkedIn personal profile or a LinkedIn Company Page.
Here’s how to do it:
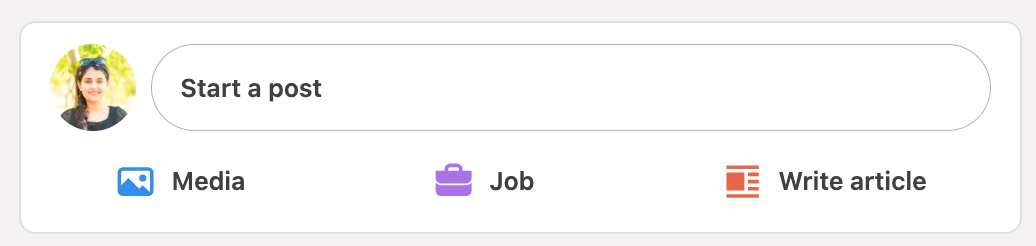
- Log in to your LinkedIn account and click the Start a post box at the top of your feed.

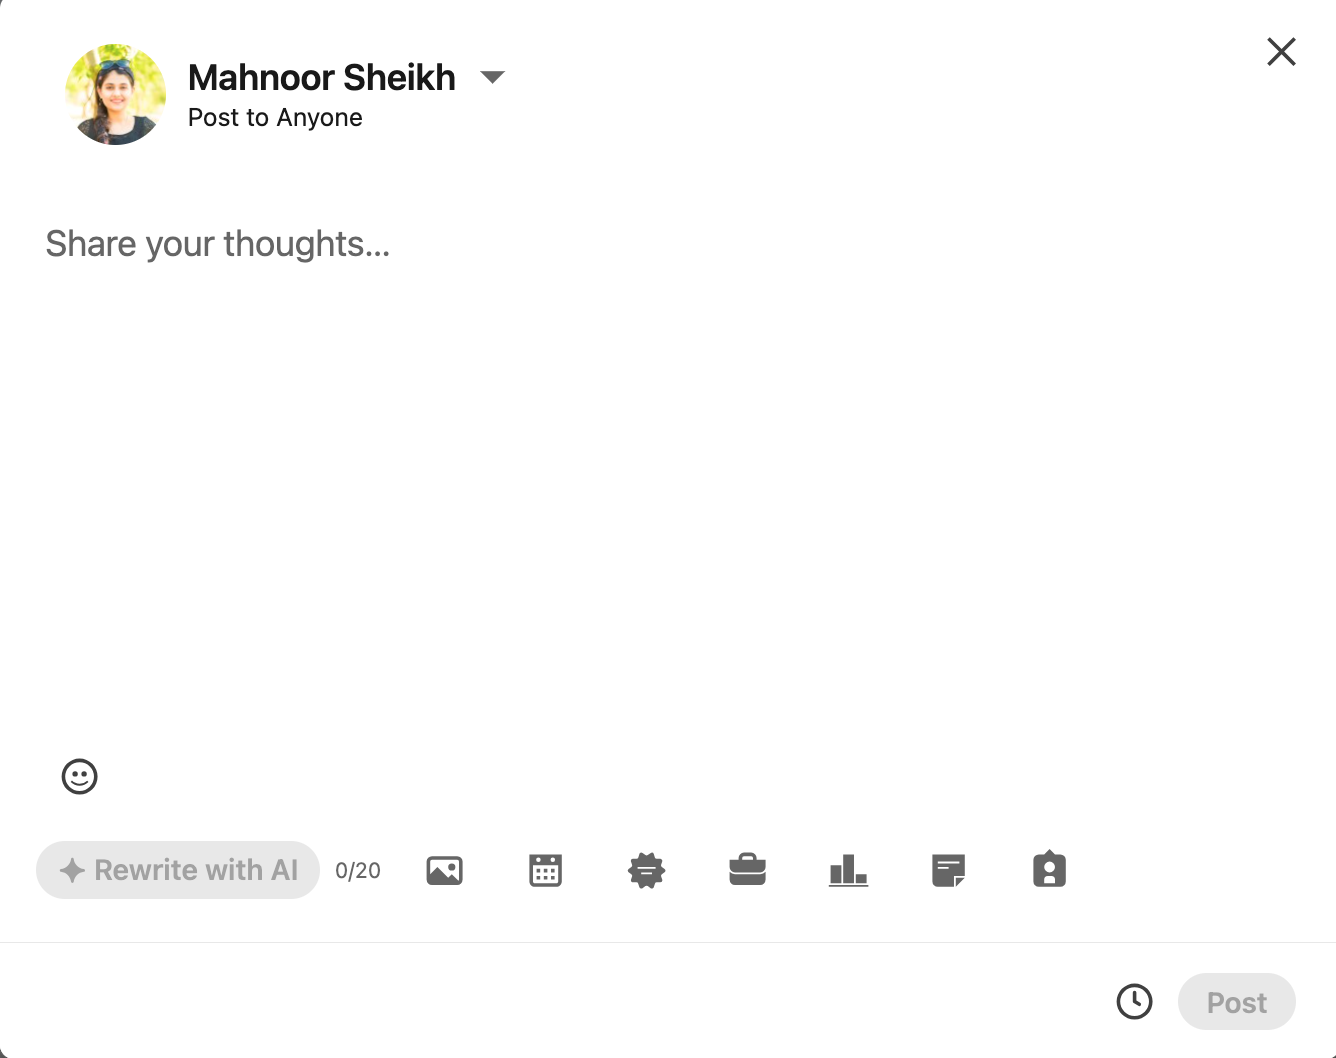
- When Create a post pops up, enter the body text of your post and attach any images, videos or documents. You can also create a poll if you want. If you’re posting a video, you can add subtitles by enabling auto-captions (English-language videos only) or uploading an SRT file.

- Click the Clock icon in the lower right corner to open the schedule dialog.
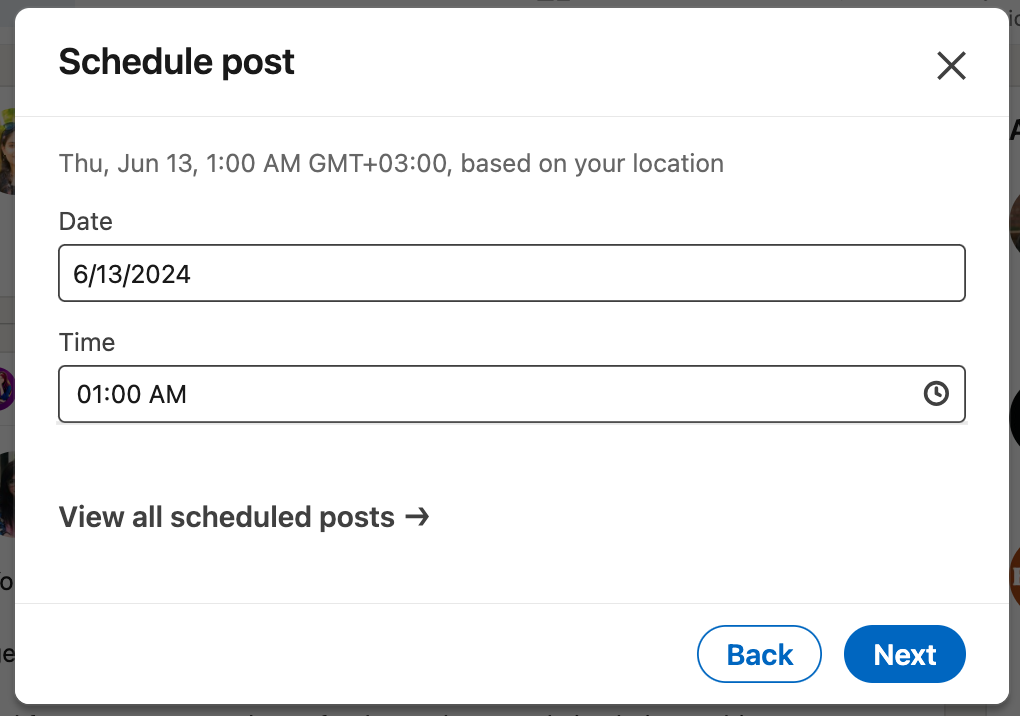
- In the scheduling dialog, select a date and time to schedule your post. If your audience is in a different time zone, consider scheduling in their time zone.

- Select Next to save your schedule settings and return to your post preview.
- When you’re all done, review your post for spelling errors, formatting issues and make sure it matches your brand’s guidelines and tone. Also, review your image and hashtags so they’re accurate for your post.

- Click the Schedule button, and you’re done.
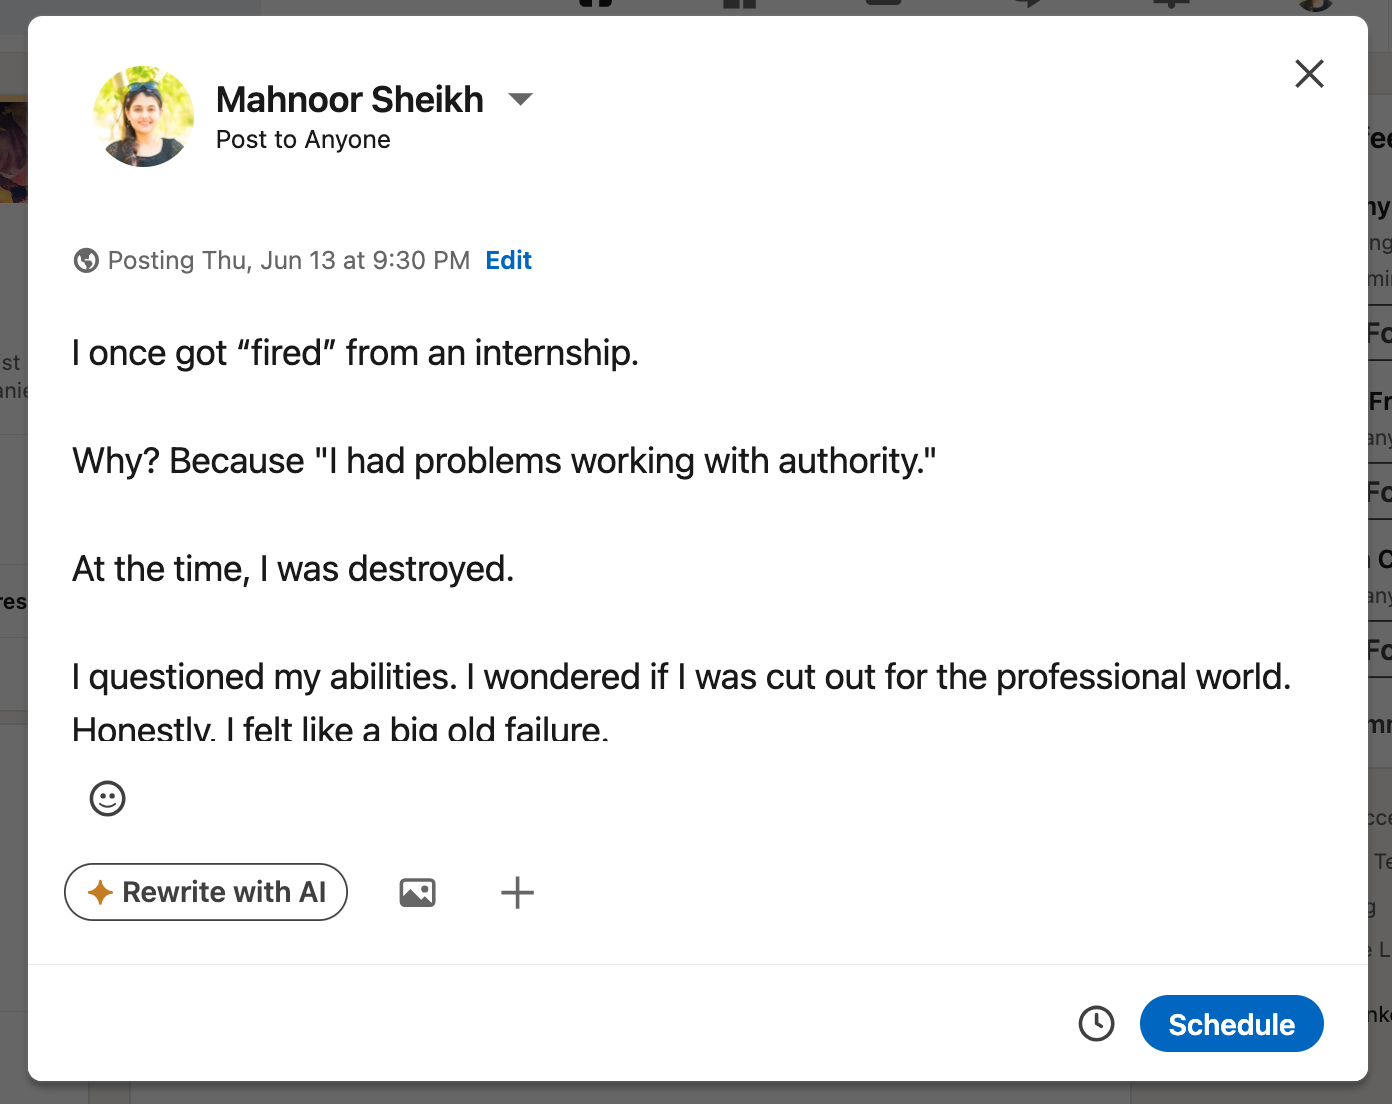
That’s it. You’ve scheduled your first post on LinkedIn.
Limitations with the native LinkedIn scheduler
While it seems straightforward to schedule content with LinkedIn’s native scheduler, there are several limitations that social media managers should be aware of. These limitations may hinder your ability to schedule posts effectively, especially if you’re using LinkedIn for business.
- Limited scheduling options: LinkedIn’s native scheduler provides fewer options for scheduling posts. For instance, it only allows scheduling for up to three months in advance. Also, LinkedIn doesn’t allow bulk scheduling, which means that each post must be scheduled individually.
- Limited analytics features: LinkedIn’s analytics only provide a basic insight into your LinkedIn content performance and audience behavior. It doesn’t give you much freedom to track your audience demographic data or metrics like click-through rates, follower growth or engagement rates.
- No support for managing multiple LI accounts at once: With the native LinkedIn scheduler, you can only schedule posts for one account at a time. This is a drawback, especially for social media managers who manage multiple accounts.
- Limited posting options: You can’t schedule events, jobs or services with the LinkedIn scheduler. This has to be done manually.
- Limitations on approval collaboration: The LinkedIn scheduler discourages the collaboration of teams in real-time. Posts can only be made and seen by one person, so every review, approval or collaboration must be done outside the tool.
How to view, edit and reschedule scheduled posts on LinkedIn
LinkedIn allows you to view your scheduled posts so you can delete, edit or reschedule them.
Yes, that’s right. LinkedIn posts can be edited after uploading. If you’re wondering how to edit scheduled posts on LinkedIn, you can do so using the native scheduler.
Follow the steps below to view and edit your scheduled posts.
1. Click the Start a post box at the top of your LinkedIn feed.
2. Navigate to the Clock icon at the bottom-right of the Create a box pop-up.
3. Click View all scheduled posts to see all your scheduled posts and their publish dates.
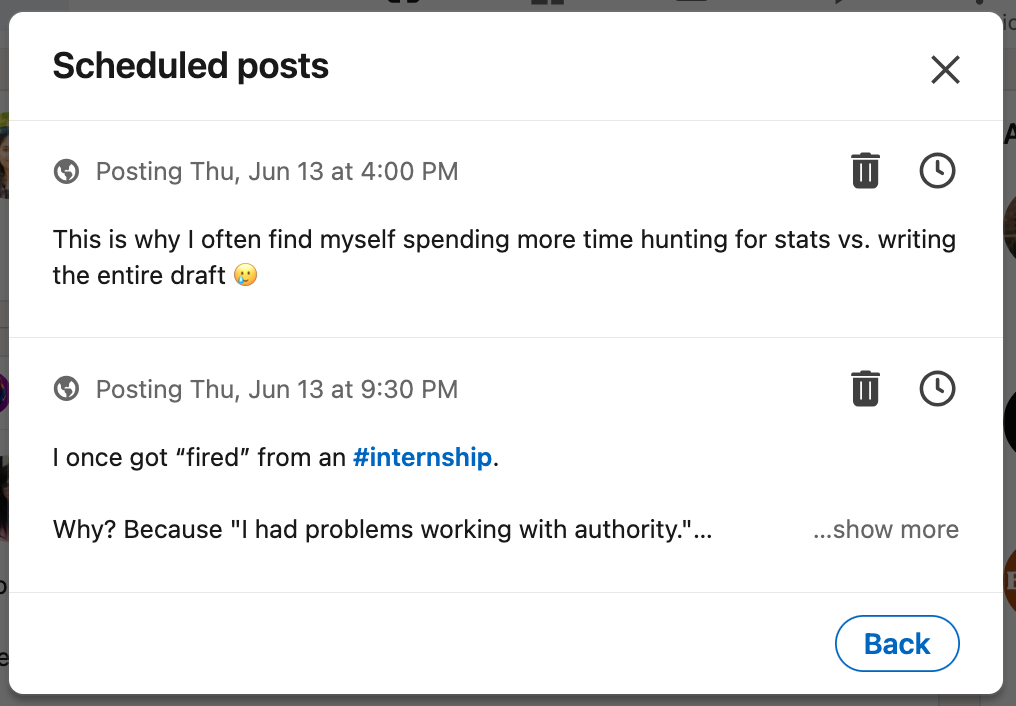
4. Now you can edit, delete or reschedule. Select the three dots next to the post you wish you modify:
- To delete a post, simply click on the delete icon.
- To reschedule a post, click on Modify schedule to edit the scheduled publishing time.
- To edit, select Edit post and make any changes or corrections to your scheduled LinkedIn post.
- To publish immediately, select Post now.
How to schedule posts on LinkedIn using Sprout Social
LinkedIn’s native scheduling tool is great, but if your business is active on multiple platforms, you might need a more robust solution to handle your social media strategy, like Sprout Social.
Sprout’s powerful social media publishing tool makes it easy to cross-post on different platforms, collaborate with your team, set permissions and access in-depth analytics—all from one central hub.
You can schedule posts on LinkedIn using Sprout from both desktop and mobile. Just upload your content, add images, links and videos, and then schedule your post when it’s ready to go.
Here’s how to do it: